
Earlier this week we had the chance to attend a flame cap kiln burn at Dan and Bethany's near Winthrop. Dan built the kiln and Bethany was kind enough to write up the process and take pictures:
Kiln Dimensions: Base: 47” X 47”, top: 59”X59”, height: 36”, 1.5” drain valve, approximately 350 gallons capacity (1.7 cubic yards), made out of 1/8” welded steel plate (locally cut in Twisp, WA and welded by landowner outside of Winthrop) designed by landowner based on Oregon Kiln design.
Weather: light wind, about 50 degrees
Process: We reviewed the weather conditions, forecast, and Dept of Ecology burn information to ensure conditions were acceptable for burning, and 4 people were present to load the kiln and monitor for embers.
Safety precautions: We had 2 garden hoses. The kiln was in an open area on dirt. We also had tools available (shovels, rakes, and rogue hoe). We were watching for embers.
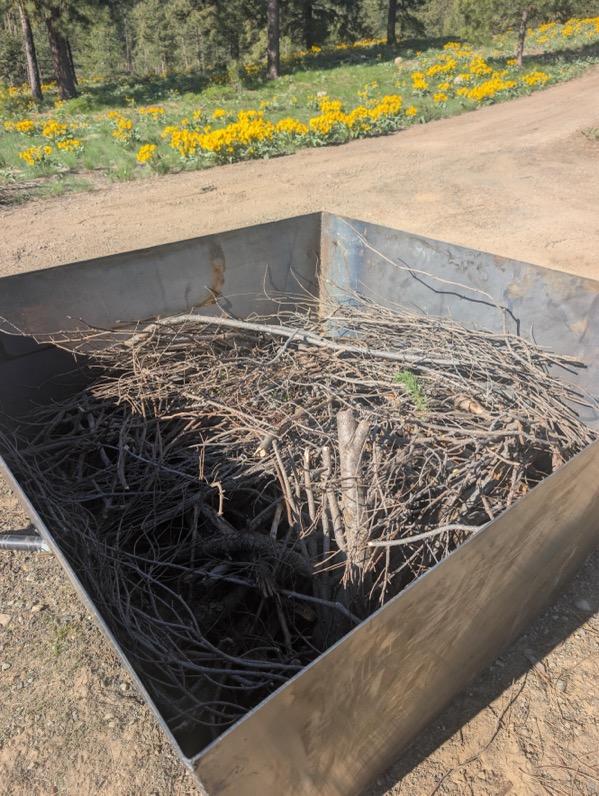 |
| initial loading of debris the day before burning |
Timeline
We had previously loaded the kiln, with pine needles and lighter materials on top to start the fire.
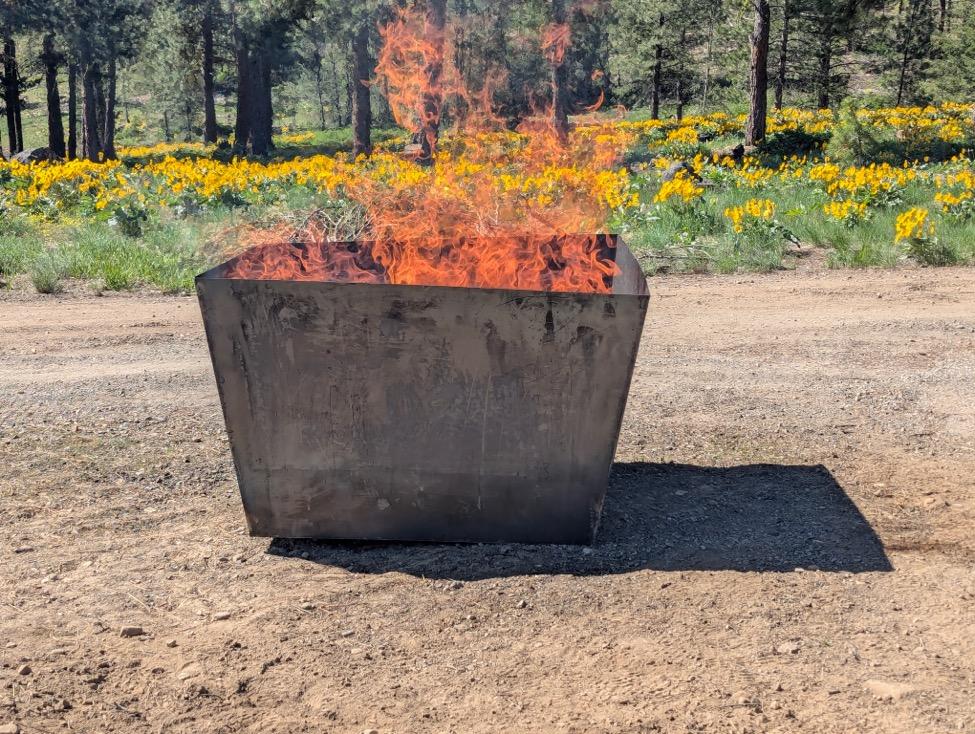 | |||
| 9 minutes into the burn |
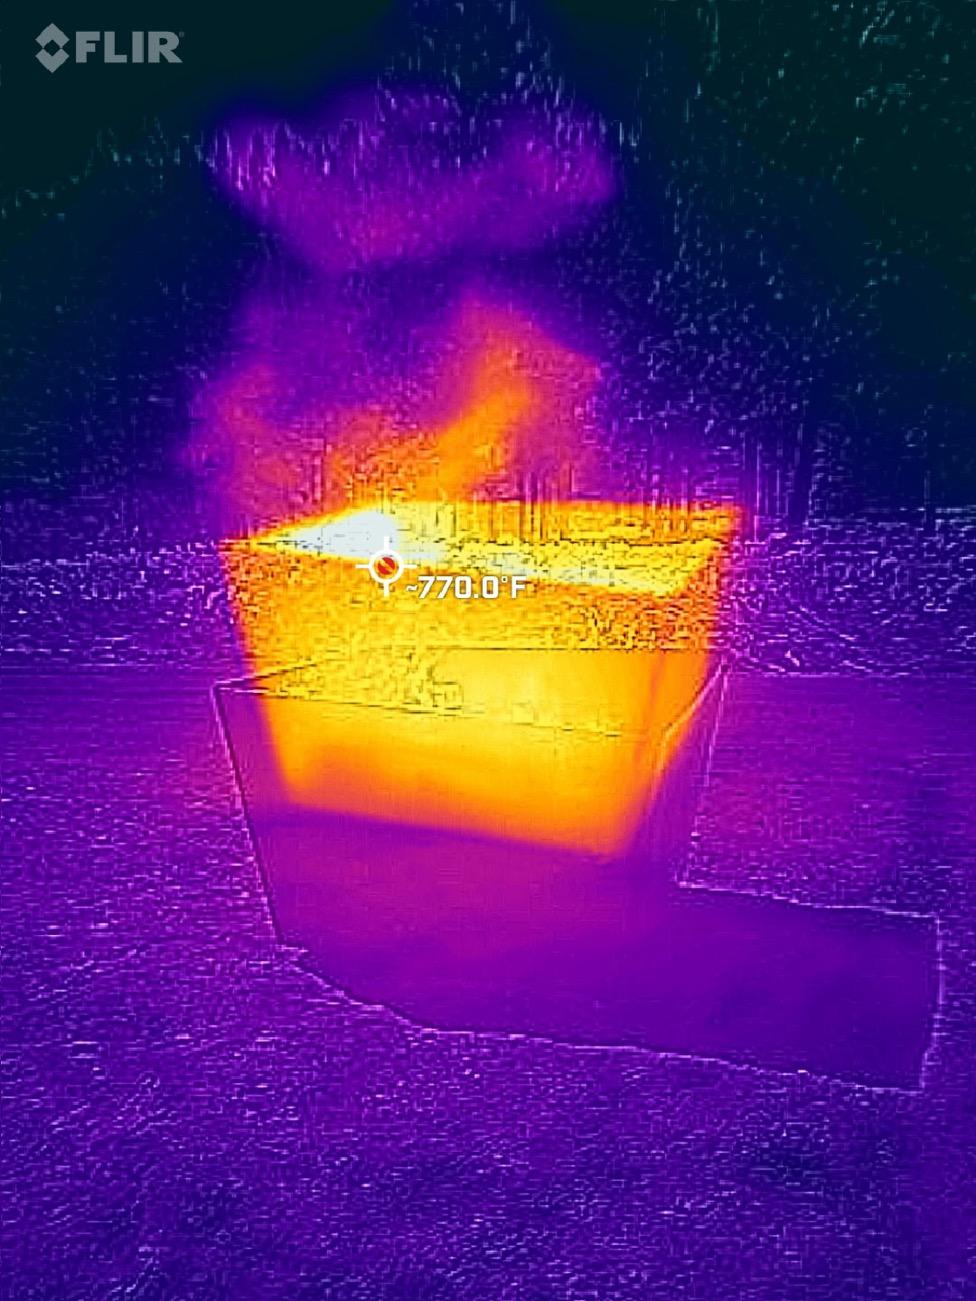 | |||
| infrared image of the kiln |
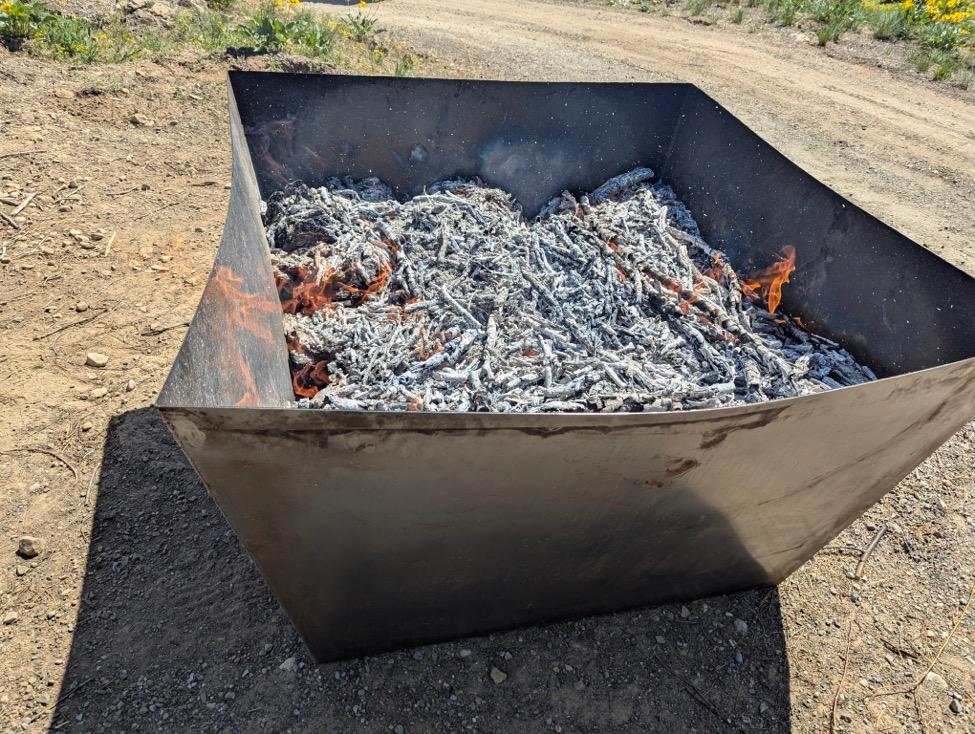 |
| before quenching |
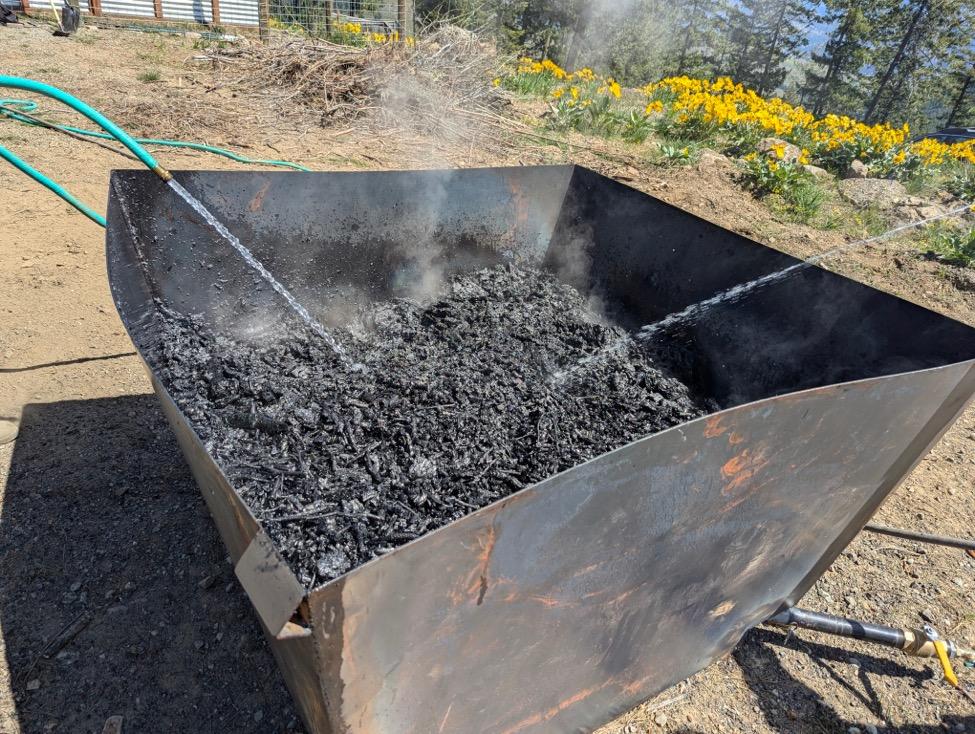 |
| quenching - we filled the kiln with water |
 |
| raking biochar while quenching |
After draining the water, we had almost 15” of biochar left in the kiln. We used the biochar in our compost pile, added it to our garden beds, and spread it in an old impacted log landing to try and help recovery.
Considerations for next time
Quench the ground before starting
Do not load as much bark at one time, it takes longer to burn
Cut greener branches into smaller pieces
Add a shield around the kiln so you can get closer to the kiln when adding materials
Comments
Post a Comment